How to Compress Image to 10KB, 20KB, 50KB or 100KB Online (Free & Instant)
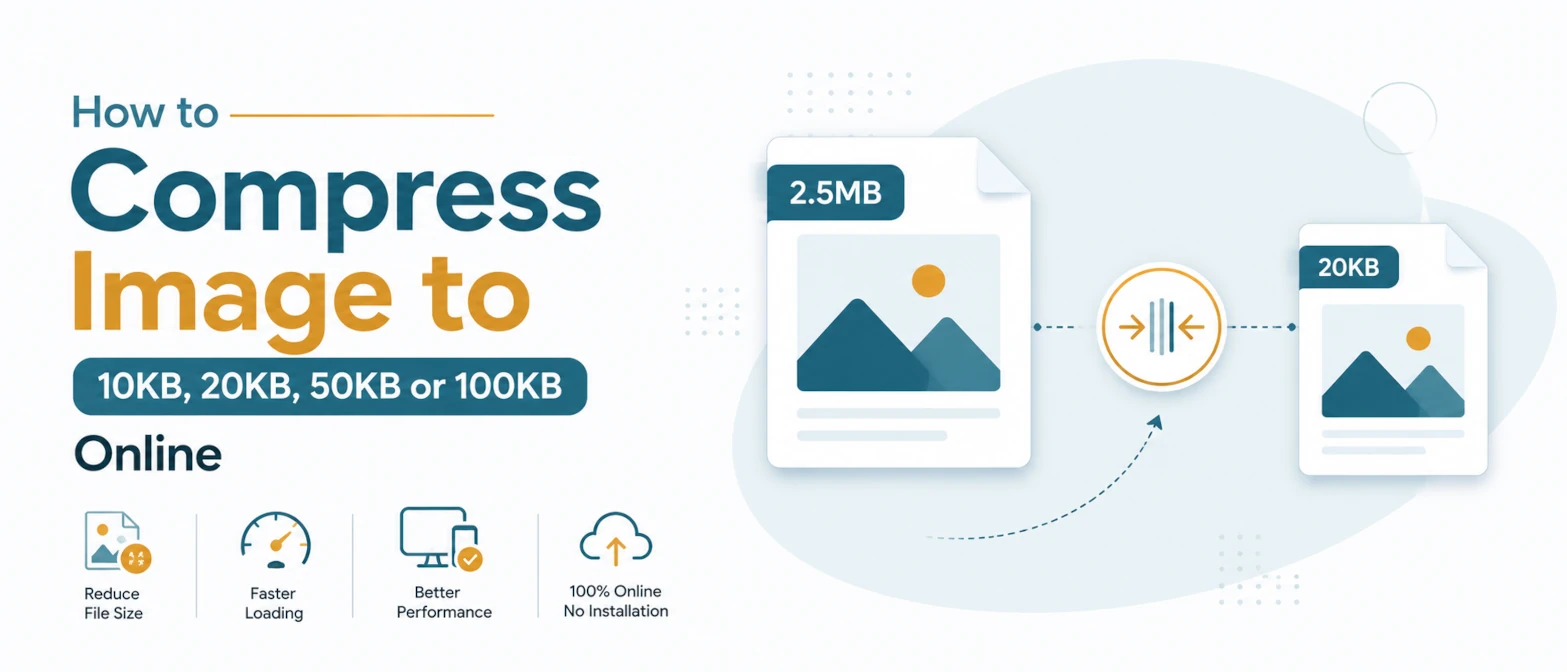
When a portal asks for an image under 10KB, 20KB, 50KB, or 100KB, most people discover that normal compression is not enough. Many tools can reduce size, but they cannot reliably hit an exact upload limit. That is why applicants get repeated errors even after "compressing" the file once.
This guide explains a practical, privacy-first method to compress images to strict limits for government forms, exam portals, passport workflows, HR onboarding, and scholarship uploads. The method is simple: resize only when required, control quality gradually, and verify final file size before submission. You also need a tool that runs entirely in your browser so your photo never leaves your device.
Short answer
To compress an image to exact limits like 10KB, 20KB, 50KB, or 100KB, use a target-size compressor that adjusts dimensions and quality in controlled steps. Prefer a browser-local workflow with no server upload, verify the final KB value, and keep a safe visual minimum so the image remains readable for identity checks.
Why exact KB targets matter
Strict size limits are common in public and enterprise systems because they reduce storage overhead and speed document review pipelines. These systems often reject files that exceed the cap by even 1KB. Typical examples include:
- Exam registrations: profile photo and signature under fixed limits.
- Government services: identity image and proof files with hard caps.
- Job portals: candidate photos with strict upper-size checks.
- Passport and visa forms: predefined dimensions and KB ranges.
What controls image size
File size is influenced by four primary factors:
- Dimensions: higher width and height produce more pixels to store.
- Format: JPG, PNG, and WebP compress differently.
- Compression quality: lower quality reduces size but can blur details.
- Image complexity: textured backgrounds and noise consume more bytes.
Because all four factors interact, one-click "reduce size" buttons are rarely precise. A target-size workflow should tune these factors iteratively.
Reliable workflow to hit 10KB, 20KB, 50KB, 100KB
- Start with the right format: use JPG for photos, PNG for signatures that require sharp edges, WebP when accepted.
- Set target size first: choose 10KB, 20KB, 50KB, or 100KB before adjusting anything else.
- Resize only if needed: reduce dimensions gradually instead of jumping to very small values.
- Tune quality in small steps: move down in controlled increments and recheck size.
- Verify readability: zoom to 100% and confirm face/signature remains clear.
- Download and recheck: confirm the final output is below the exact limit.
Recommended presets
| Target | Typical use | Practical note |
|---|---|---|
| 10KB | Small signatures, legacy forms | Keep high contrast; avoid noisy backgrounds. |
| 20KB | Exam portals, profile thumbnails | Reduce dimensions before pushing quality too low. |
| 50KB | General ID photo workflows | Good balance of clarity and compatibility. |
| 100KB | Passport and HR onboarding | Usually enough for strong facial clarity. |
Examples
1. Exam registration image under 20KB
Input: 1.8MB phone photo, 3024x4032.
Process: crop face area, reduce to 480x640, tune quality gradually.
Output: 19.6KB JPG accepted by portal.
2. Signature under 10KB
Input: PNG scan with shadow artifacts.
Process: crop blank margins, convert to clean grayscale, compress to target.
Output: 9.8KB PNG, sharp and legible.
3. Employee ID photo under 100KB
Input: 4.2MB DSLR image.
Process: center crop, resize to required aspect ratio, quality tune.
Output: 96KB JPG with good skin detail retained.
Common mistakes that cause rejection
- Over-compression: image becomes unreadable even if size matches.
- Wrong dimensions: portal requires both KB and pixel ratio.
- Wrong format: some systems accept only JPG.
- Using screenshots: text and edges can become blurry quickly.
- No final verification: file changes after re-save in another app.
Privacy and security checklist
Your ID photo is sensitive personal data. Use this checklist before uploading:
- Use a tool that runs entirely in the browser.
- Avoid tools that require account login for basic compression.
- Do not upload identity images to unknown dashboards.
- Delete temporary copies if shared devices are used.
TryFormatter tools for this workflow
Image sizing and compliance toolkit
Frequently asked questions
Use a target-size compressor with iterative adjustment. Set 50KB first, then tune dimensions and quality in small steps until the final output stays below the cap.
At very small limits, some visual loss is unavoidable. You can preserve readability by cropping tightly and reducing background complexity first.
Yes, when processing is client-side with no server upload. In that setup, image bytes stay on your device.
Different formats use different compression methods. JPG usually gives smaller photo files than PNG at the same visual quality.
Conclusion
Exact-size image compression is a compliance task, not just a design task. The best result comes from controlled quality tuning, dimension checks, and final verification against strict limits. Use a no-upload browser workflow for privacy, and keep one accepted backup version for each target range.