
How to Upscale an Image Online for Free Without Losing Quality
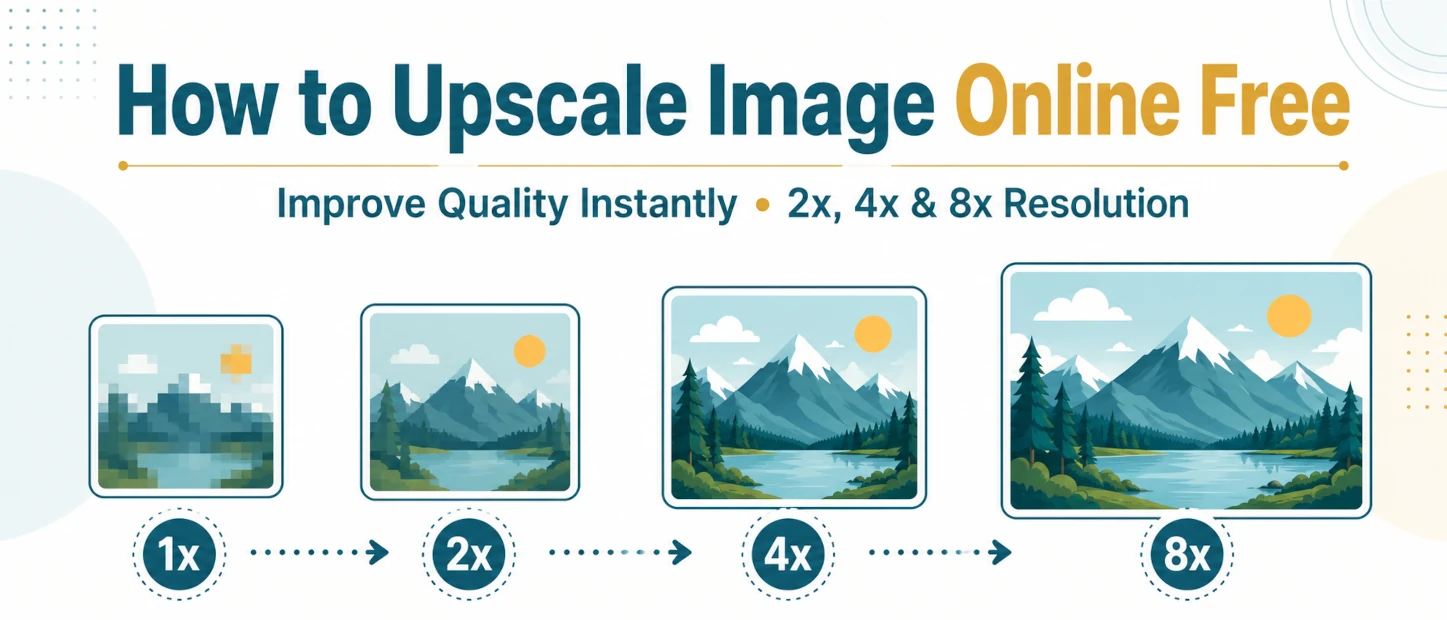
Upscale JPG, PNG and WebP images to 2×, 4× or 8× using TryFormatter's free Image Upscaler. Compare the original and enlarged result, choose Fast Upscale or AI Enhance, and download the output in PNG, JPG or WebP format.
Enlarging a small image sounds simple until the result turns soft, blocky or over-sharpened. The problem is that an upscaler must create more pixels than the original file contains. The method it uses, the scale you choose and the quality of the source image all affect the final result.
What Does Image Upscaling Do?
Image upscaling increases an image's pixel dimensions. A 600 × 400 image enlarged to 2× becomes 1200 × 800. At 4×, it becomes 2400 × 1600. At 8×, it reaches 4800 × 3200.
- 1× Original: 600 × 400 pixels (baseline source dimensions)
- 2× Scale: 1200 × 800 pixels (4× total pixel area)
- 4× Scale: 2400 × 1600 pixels (16× total pixel area)
- 8× Scale: 4800 × 3200 pixels (64× total pixel area)
A larger pixel count gives you more room for display, layout and export. It does not guarantee that every missing detail can be recovered. A heavily blurred, compressed or tiny source image will still have limits after enlargement.
Standard Upscaling and Detail Enhancement
Not every image needs the same processing method. TryFormatter provides separate options for quick enlargement and more detailed enhancement.
Fast Upscale
Enlarges the image with a lightweight resizing method. It is useful when you need larger dimensions quickly or want to process a high-resolution file without placing heavy demands on the device memory or processor.
AI Enhance
Uses a detail-enhancement model to improve edge definition and reduce the soft appearance often produced by basic enlargement. Results vary with the image subject, contrast and source quality.
Fast Upscale vs. AI Enhance
| Method | Scale options | Best suited for | What to expect |
|---|---|---|---|
| Fast Upscale | 2×, 4× and 8× | General resizing, screenshots, graphics and large source files | Faster output with lower memory use. It does not create new photographic detail. |
| AI Enhance | 2× and 4× | Small photos, compressed images, illustrations and visible edge softness | More processing time, with stronger edge and texture reconstruction where the model can make a useful estimate. |
How to Upscale an Image Online for Free
The tool works through a simple, privacy-first upload, configuration and review process:
-
Open the Image Upscaler
Go to the TryFormatter Image Upscaler. The workspace includes file selection, scale controls, processing options and an interactive result preview.
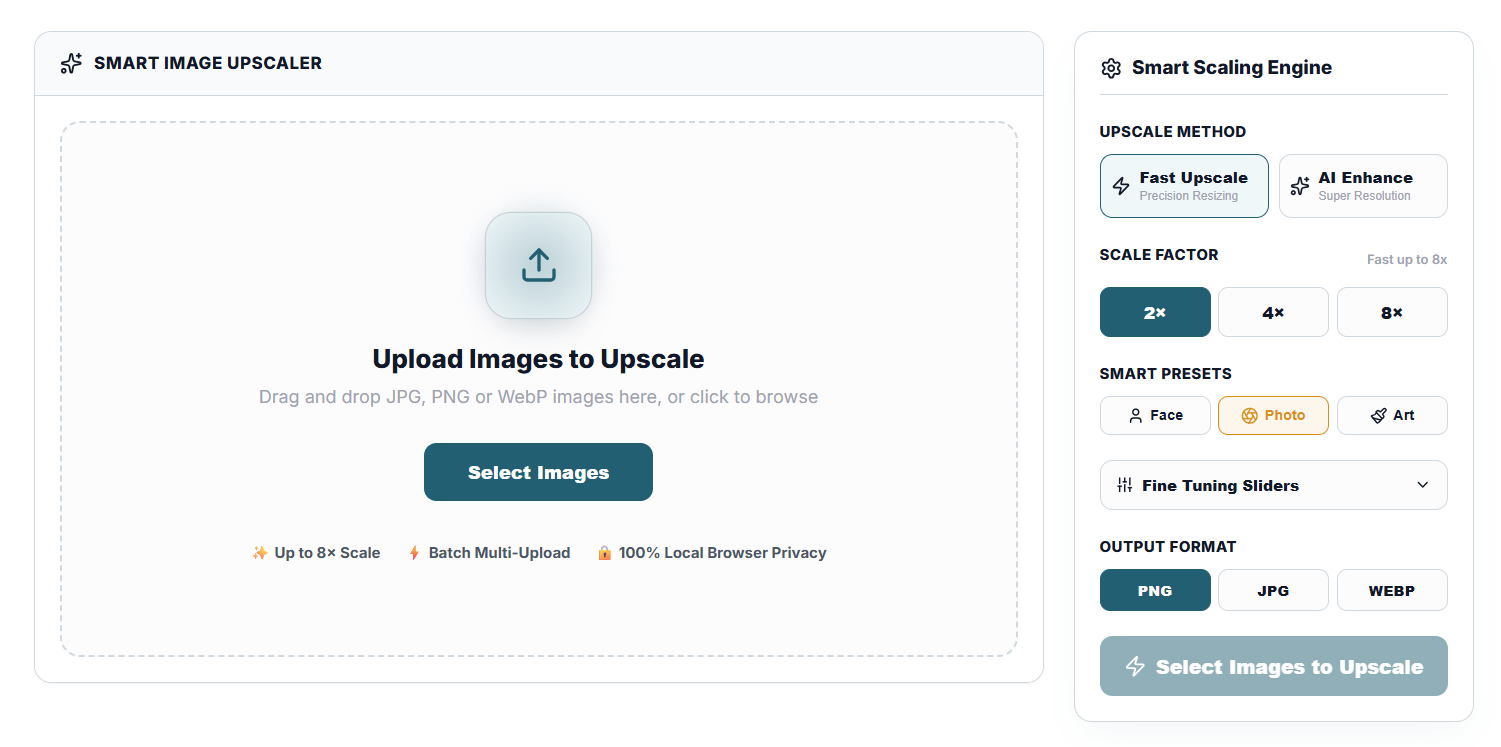
Figure 1: TryFormatter Image Upscaler workspace upload area and configuration panel. -
Add an image and choose your target scale
Select a JPG, PNG or WebP image. Choose Fast Upscale or AI Enhance, then select 2×, 4× or 8× where supported. Use the Photo, Face or Art preset when it matches the subject.
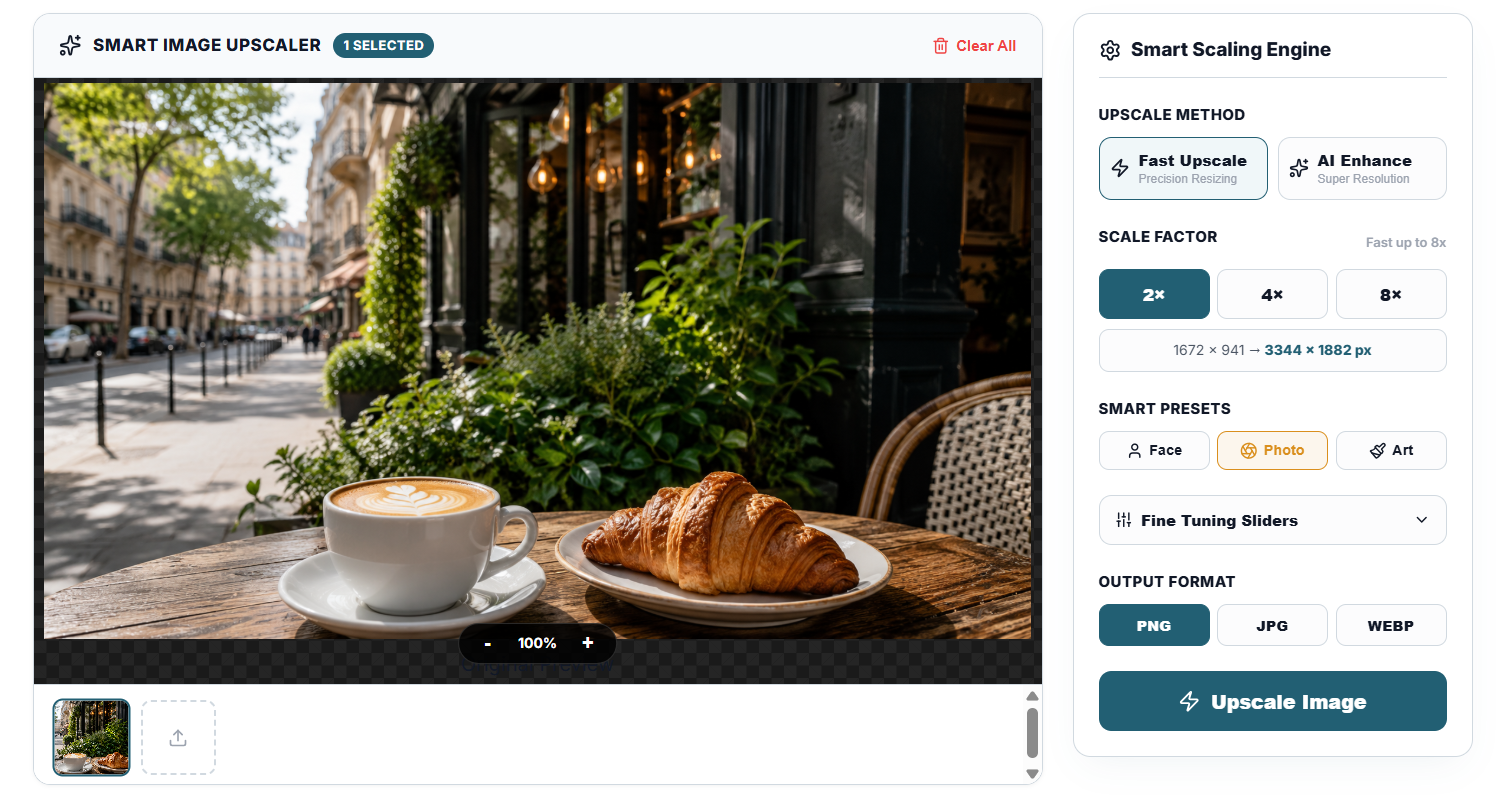
Figure 2: Selecting scale factors (2×, 4×, 8×) and enhancement presets. -
Process and compare the result
Start the upscale and wait for processing to finish. Use the before-and-after comparison to inspect edges, text, facial details and textured areas. Zoom in rather than judging only from the fitted preview.
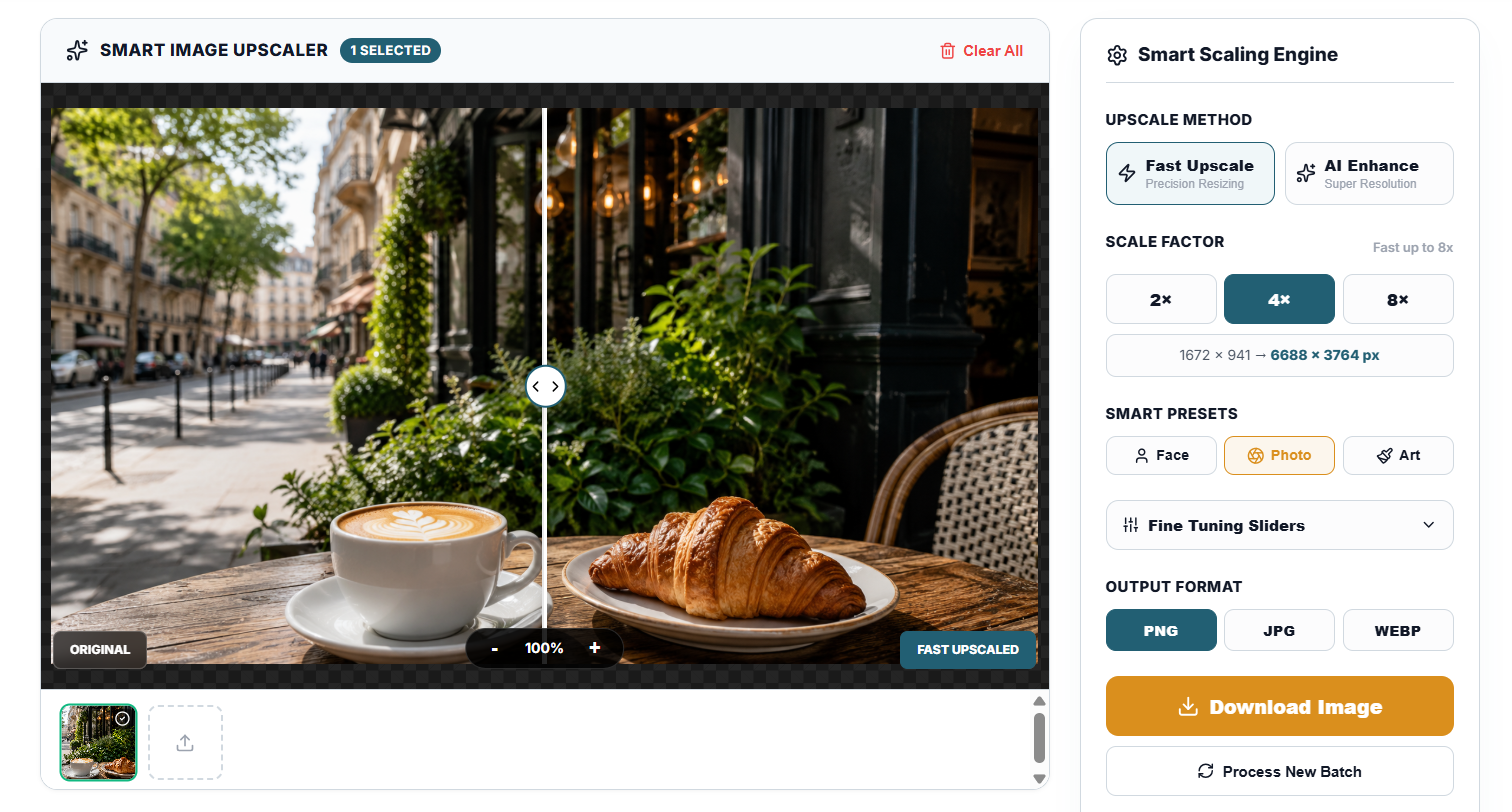
Figure 3: Interactive before-and-after comparison slider for quality inspection. -
Select an output format and download
Choose PNG when you need transparency or a lossless result. WebP is useful for smaller web files, while JPG works well for photographs that do not need transparency.
Choose the Right Scale: 2×, 4× or 8×
Selecting the correct multiplier balances file size, sharpness and processing performance:
- 2× Scale (Controlled Increase): A 2× upscale is a sensible starting point for profile images, product photos, screenshots and graphics that are only slightly too small.
- 4× Scale (Larger Layouts): A 4× result helps when preparing a small source image for banners, presentations, larger web sections or high-DPI displays.
- 8× Scale (Maximum Dimensions): An 8× upscale creates a very large file. It is useful when you need raw pixel dimensions, though compression artifacts or blur can become more noticeable.
Photo, Face and Art Presets
Presets adjust how the enhancement algorithm handles edges, textures and continuous color gradients:
- Photo: A balanced option designed for landscapes, products, architecture and everyday photography.
- Face: Applies gentler treatment around skin, hair and facial contours to avoid harsh synthetic artifacts.
- Art: Optimized for illustrations, digital art, anime, icons and vector graphics where sharp boundary lines take priority.
How to Get a Better Upscaled Result
To achieve the highest fidelity when enlarging images, follow these best practices:
- Start with the best source available: Use the highest-resolution, uncompressed file you have. Re-saving compressed JPG files compounds artifacts.
- Do not jump to 8× automatically: A smaller multiplier often yields a sharper, more natural image. Test 2× or 4× first.
- Inspect text and facial details closely: Zoom to 100% to ensure lettering remains legible and skin tones do not appear plastic or over-smoothed.
- Choose output formats wisely: Export PNG for graphics with transparent backgrounds, WebP for web delivery, and JPG for standard photographic uploads.
What Image Upscaling Cannot Fix
While modern upscaling algorithms significantly improve image dimensions and edge contrast, there are physical hardware limitations to consider:
- Severe motion blur: Enlarging a blurry photo cannot recreate out-of-focus camera optics or fast subject movement.
- Heavy JPG compression artifacts: Blocky compression noise will be magnified at higher scale factors.
- Unreadable tiny text: Algorithms may sharpen letter edges, but cannot accurately recreate illegible characters.
- Missing facial features: AI enhancement estimates feature structures, but cannot reconstruct genuine uncaptured identity details.
Privacy and Browser Processing
TryFormatter's Image Upscaler processes your files completely inside your web browser using client-side WebAssembly and WebGL rendering.
Common Uses for an Image Upscaler
- E-commerce & Product Catalogs: Enlarge small supplier product photos for high-resolution storefront cards and marketplaces.
- Presentations & Slide Decks: Upgrade low-res diagrams, charts and screenshots for crisp presentation on large screens.
- Archival Photo Restoration: Upscale older digital camera photos before retouching, printing or sharing.
- Digital Art & Wallpapers: Expand AI-generated artwork, graphics and wallpapers to fit 4K and 8K monitor resolutions.
Frequently Asked Questions
Yes. The Fast Upscale option supports 8× enlargement directly in your browser. Processing speed depends on your device CPU and RAM capacity.
It generates new pixels using spatial interpolation and edge estimation. While it dramatically increases dimensions, it cannot invent optical information that was never captured.
Choose PNG for transparency or lossless quality, WebP for optimized web page delivery, and JPG for standard photographic sharing.
Doubling dimensions (2×) quadruples total pixel count. A 4× scale increases pixels by 16×, and an 8× scale increases pixels by 64×, requiring significantly more local computation.
It enhances edge contrast and perceived clarity, but cannot completely eliminate deep optical defocus or heavy motion blur.
Continue Your Image Workflow
Explore our full suite of local, browser-first image processing tools: