Original Source Image
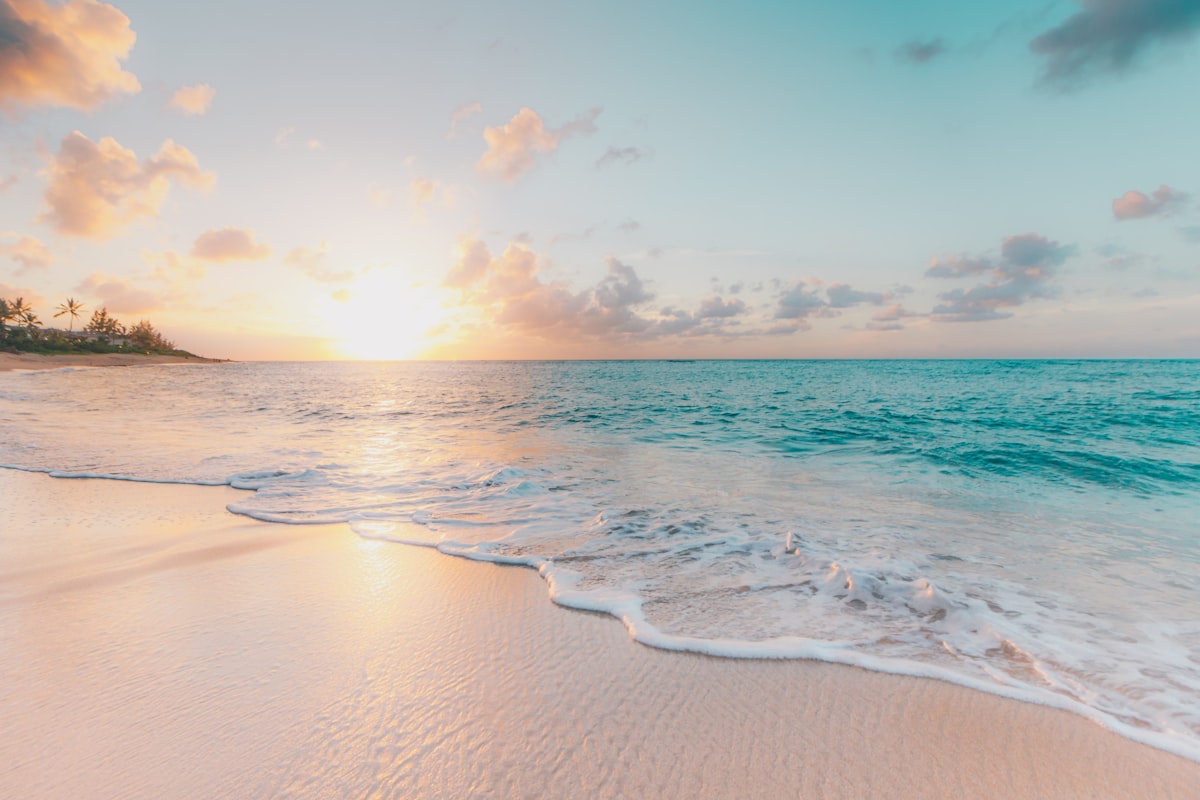
LandscapeThe starting photo has a wide shape with extra background on both sides.
Shape
Landscape
Use
Source image

Resize photos and graphics to 1080 × 1920 for Instagram Stories and other 9:16 formats. Adjust the crop, choose JPG or PNG, and download in your browser. All processing happens locally in your browser.
Drop a JPG, PNG or WebP image here, or choose one from your device.
The image will be resized to 1080 × 1920 pixels. Supports JPG, PNG and WebP.An Instagram Story Resizer turns one photo or graphic into a vertical image measuring 1080 × 1920 pixels with a 9:16 aspect ratio.
You can crop a landscape or square image to fill the story frame, keep the complete source visible with a background, adjust the position and check a safe-area guide before export.
The finished image can also be useful for other vertical placements that use a similar 9:16 layout.
This tool creates an image that is 1080 pixels wide and 1920 pixels tall. The resulting shape uses a 9:16 vertical aspect ratio.
A 9:16 layout is designed for tall mobile screens. It gives the image enough vertical space while keeping the output consistent for story-style placements.
A wide source photo often needs a new crop before it can fit a vertical story frame. The example below shows how the main subject can be repositioned without stretching the image.
The starting photo has a wide shape with extra background on both sides.
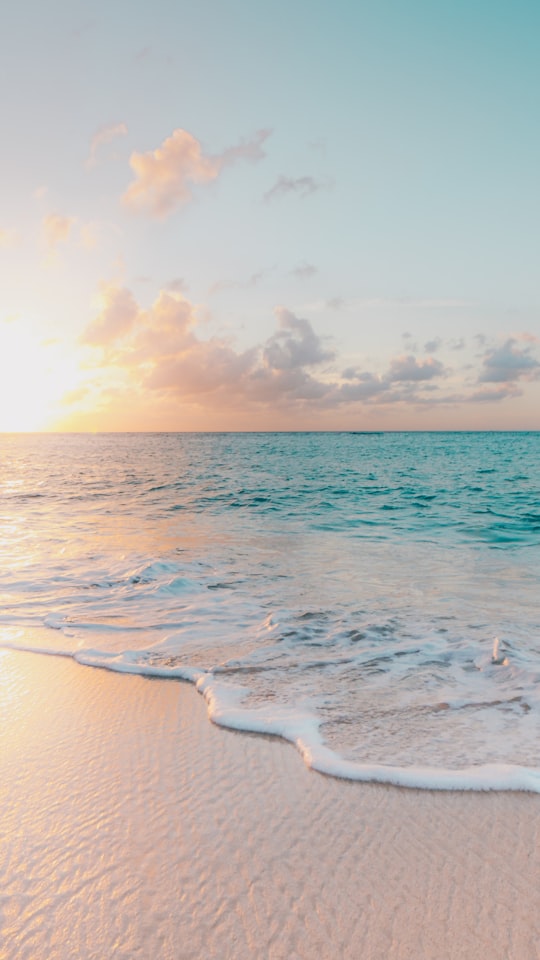
The image is reframed vertically with the main subject kept inside the useful viewing area.
The actual output file size depends on the source image, selected format, quality and file-size settings.
The two framing options control how the source image is placed inside the vertical canvas.
Use Fill Canvas for an edge-to-edge story. Use Fit Image when no part of the original image should be removed.
Moving a landscape or square photo into a tall frame can place faces and important objects outside the visible crop.
Story interfaces can place profile information and controls over the top and bottom parts of an image.
The safe-area guide marks an inner section where important content is less likely to sit close to these interface areas.
The guide is a visual aid and may not match every app version, device or placement exactly.
Choose the output format based on the type of image you are resizing.
A transparent background requires PNG. JPG always uses a solid background.
Choose JPG and lower the quality slightly when the generated image is larger than required.
You can also enable Maximum File Size and enter a KB or MB value. The tool will try to create a result at or below the selected limit while keeping the output dimensions at 1080 × 1920 pixels.
Very small limits may reduce clarity. When the target cannot be reached, choose a larger limit or switch from PNG to JPG.
A 1080 × 1920 image can also be useful for other vertical layouts.
Facebook Stories: Prepare a tall image for story-style sharing.
WhatsApp Status: Resize photos and graphics for full-screen status posts.
Vertical video covers: Create cover artwork for short-form video content.
Mobile wallpapers: Adapt an image to a tall phone-screen layout.
Each platform may crop or display the image differently, so review the destination before publishing important content.
The selected image is processed in your current browser session and does not need to be uploaded to TryFormatter servers for resizing.
Cropping, positioning, background filling and file creation take place while the page remains open.
Large source images may use more device memory and take longer to process.
The tool creates an image measuring 1080 × 1920 pixels with a 9:16 aspect ratio.
Yes. Use Fill Canvas to crop the photo into the vertical frame or Fit Image to keep the complete source visible with a background.
Fill Canvas covers the complete story frame and may crop the outer edges. Fit Image keeps the complete source visible and fills unused space with a selected background.
Yes. You can drag the image, change the zoom and adjust its horizontal and vertical position.
The guide marks an inner area that helps keep important faces, logos and text away from the top and bottom edges. It is not included in the downloaded image.
JPG is useful for photos and usually creates a smaller file. PNG is useful for graphics, screenshots, sharp text and transparent backgrounds.
Yes. Lower the JPG quality or enable Maximum File Size. The tool will try to create a result at or below the selected limit.
The selected image is processed in the current browser session and does not need to be uploaded to TryFormatter servers for resizing.