Before
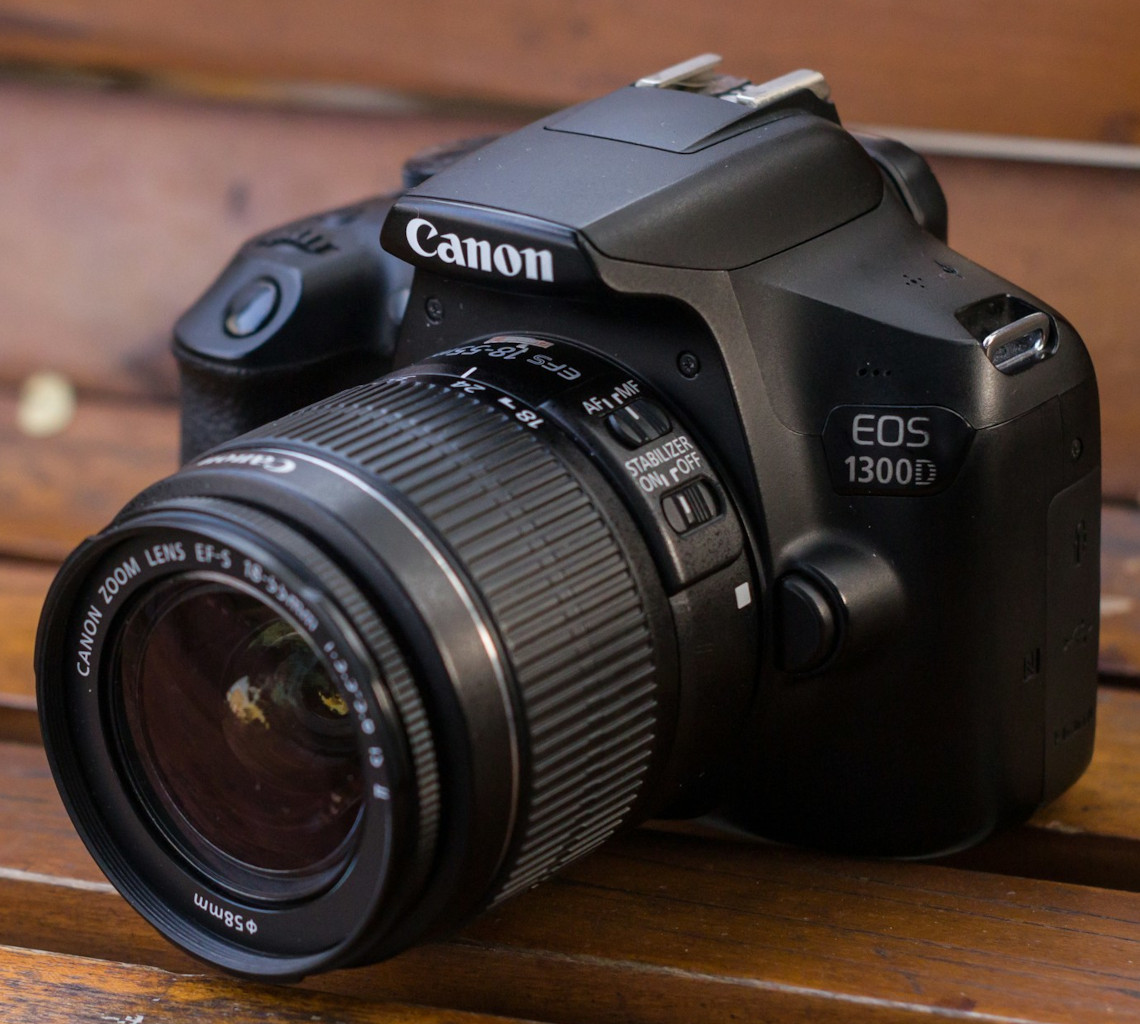
After
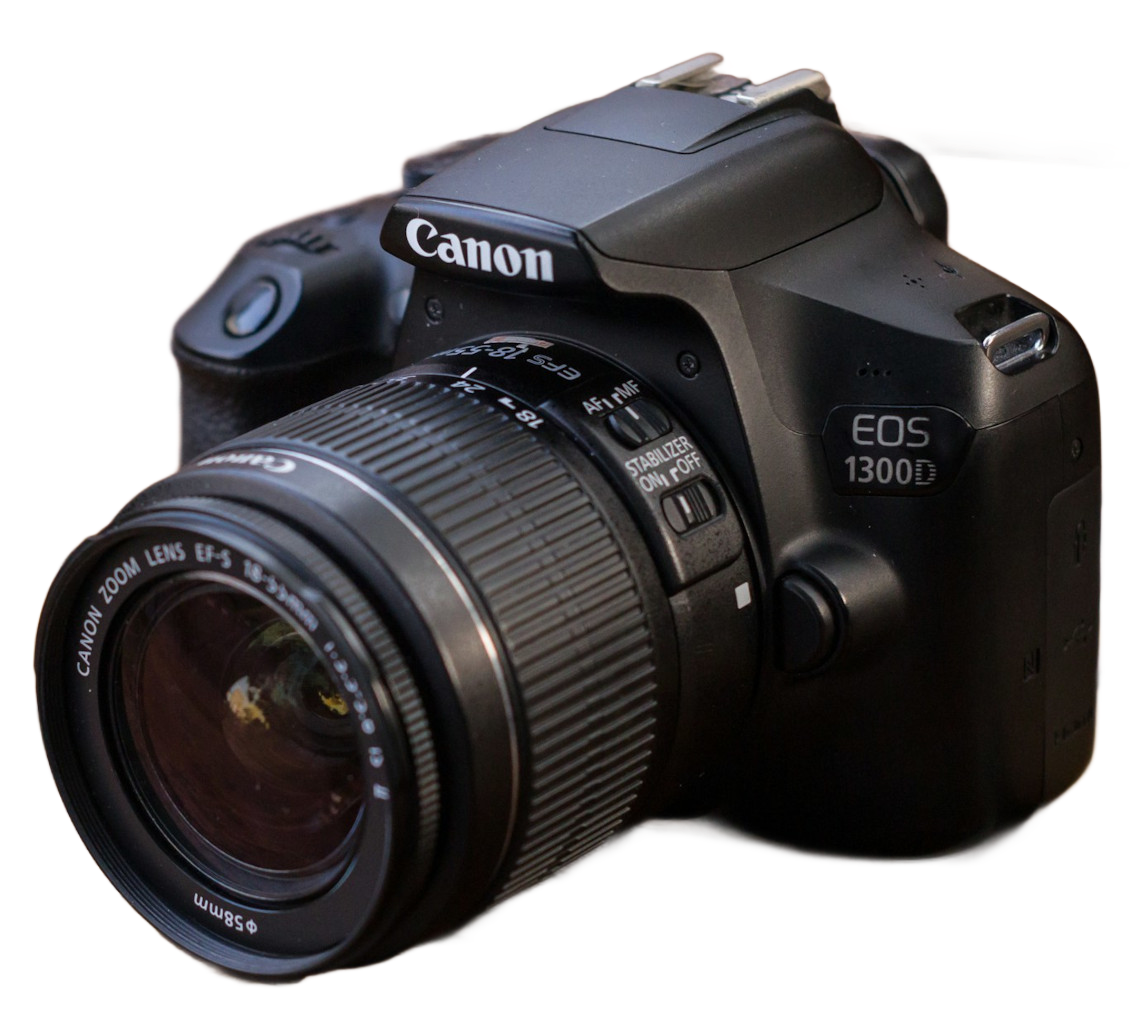
Product photo
Prepare a product for catalog pages, listings, promotional graphics and reusable design layouts.

Upload a JPG, PNG or WebP image and let the browser-based AI model separate the main subject. Refine the edges, choose a transparent, white or custom background, and download the finished image. All processing happens locally in your browser.
Choose a JPG, PNG or WebP image, drag it here, or paste it from the clipboard.
First use may require downloading the background-removal model. Later visits may reuse browser-cached files.
An AI background remover estimates the main subject in an image and separates it from the surrounding scene. The removed area can be made transparent or replaced with white, another color, or a different image.
It is useful for product photos, profile pictures, presentation graphics, social posts, catalog images and creative layouts. Automatic removal can save time, but difficult areas such as hair, fur, glass, shadows, reflections and soft edges may still need manual correction.
These use cases and examples show common ways to use background removal for products, portraits and pets. The quality of a real result depends on the original image and may require edge cleanup.
Prepare a product for catalog pages, listings, promotional graphics and reusable design layouts.


Create a cleaner portrait for profile pages, resumes, presentations and passport-style editing.

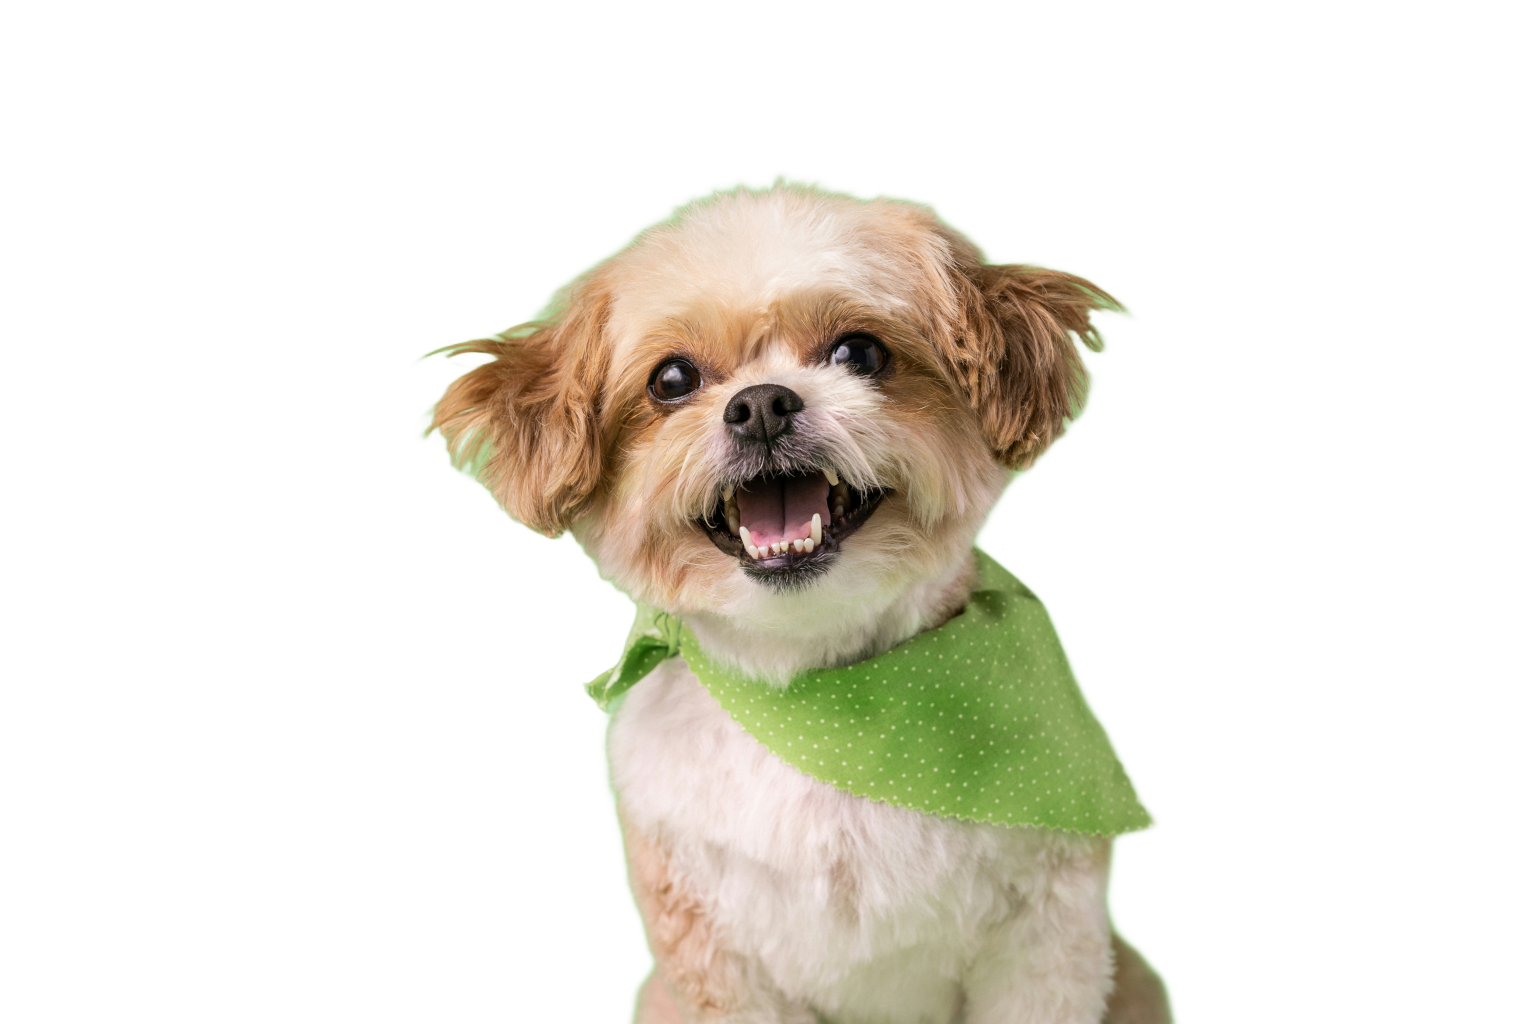
Separate a pet from the original scene for stickers, profile images, posters and creative projects.


Isolate a vehicle from street or scenic backgrounds for dealership listings, advertisements and composited graphics.
Select the background based on how the finished image will be used.
Use a transparent PNG when the subject needs to be placed over another image, website, poster or presentation.
Use white for simple product presentation, profile photos and form-style images. Check the destination requirements separately.
Choose a solid color that fits your brand or layout. Check the edge on both light and dark backgrounds.
Place the subject over another photo or design. Match the lighting and perspective for a more natural result.
The tool uses an image-segmentation model that runs in the browser. After you select an image, the model estimates which pixels belong to the main subject and produces a foreground mask.
The mask is applied to the image to make the estimated background transparent. You can then review the result and correct the mask before downloading.
The model and its runtime files are loaded separately from the main Next.js page bundle. A browser may reuse cached model files on later visits, although another download may be required after clearing the cache, using another browser, opening a private window or when the model version changes.
Use the editing controls when part of the old background remains or an important part of the subject has been removed.
Remove remaining background around the subject, between fingers, inside handles or near small gaps.
Bring back missing hair, fur, straps, clothing edges, product details or transparent highlights.
Soften a hard edge so the subject blends more naturally with its new background.
Reduce rough or jagged mask edges. Use a smaller adjustment for subjects with fine detail.
Keep slightly more or less of the subject edge. A small contraction can help reduce visible halos.
Removing a product background can help create consistent catalog images, listings, banners and social graphics. Transparent output can be reused on different layouts without removing the background again.
Replacing a distracting background can create a cleaner portrait for resumes, employee pages, profiles and online forms.
| Comparison | Background remover | Object eraser |
|---|---|---|
| Main purpose | Keeps the main subject and removes most of the surrounding image. | Removes a selected object, mark or unwanted area. |
| Result | Creates transparency or places the subject on a new background. | Attempts to rebuild the erased area using nearby image details. |
| Typical use | Product cutouts, portraits, profile photos and design assets. | Removing text, distractions, small objects or unwanted people. |
Suitable for photographic input, but JPG cannot preserve transparent pixels.
Suitable for input and the preferred common format for transparent output.
Can support transparency when the current export workflow and destination support it.
Background removal estimates the foreground boundary. It does not guarantee that every subject detail will be kept or every background area will be removed.
Background removal runs in the browser using an image-segmentation model. The model and runtime files may be downloaded from the configured asset host, while the selected image is processed by the browser implementation.
TryFormatter analytics events should not include image content, previews, masks, filenames, exact dimensions, exact file sizes, metadata, replacement images or downloaded output.
An AI background remover uses an image-segmentation model to estimate the main foreground subject and separate it from the surrounding image. The removed area can become transparent or be replaced with another background.
Upload a supported image, wait for the model to estimate the subject, review the result, and use Erase or Restore where needed. Then choose a background and download the finished image.
Yes. Select the transparent background option and download the result as PNG so the transparent alpha channel is preserved.
PNG is the safest common format for transparent output. WebP can also support transparency in compatible workflows. JPG does not preserve transparent pixels.
Yes. Select the white background option, review the subject edge, and download the result in a supported solid-background format.
Yes. Choose a custom color or upload a replacement image when those options are available. Review the subject edge because a new background can reveal remaining pixels from the original scene.
Use the Restore brush to bring back missing areas from the original image. Zoom in and use a smaller brush around hair, fingers, straps, glasses and fine product details.
Hair and fur contain thin and partly transparent strands that may include colors from the original background. Some strands may be removed or leave visible edge color.
The model is downloaded when it is not already available through the browser cache. Another download may be needed after clearing the cache, using another browser, opening a private window or when the model files change.
No. The model and runtime assets load separately when the background-removal feature needs them, so they are not part of the initial Next.js JavaScript bundle.
The page should show the real output dimensions so they can be compared with the input. Processing behavior for very large images may depend on browser memory and the current implementation.
No. Automatic segmentation estimates the subject boundary. Hair, fur, shadows, glass, reflections and overlapping subjects may require manual correction.