Pixelate Image Online
Pixelate an entire photo or hide selected areas with an adjustable mosaic effect. Everything needed for editing should be available directly in the workspace. All processing happens locally in your browser.
Pixelate Image Online
Pixelate Image Online
Pixelate an entire photo or hide selected areas with an adjustable mosaic effect. Everything needed for editing is available directly in the workspace.
Image editing is performed in your browser, so no server upload is required for the pixelation itself.
What Is Image Pixelation?
Image pixelation is an editing technique that replaces fine image details with larger, visible colour blocks. A digital bitmap image is made from tiny colour units called pixels. At normal viewing size, these pixels are usually small enough that your eyes blend them into smooth lines, gradients, text, and recognizable objects.
When you pixelate an image or a selected region, the image is reduced into a coarse grid and enlarged again without smoothing. Groups of nearby pixels become visible square blocks, which removes fine detail while preserving the broader shapes and colours of the image. Larger blocks hide more detail, while smaller blocks keep more of the original structure visible.
Pixelation is commonly used for creative styling and visual masking. It can give photographs and illustrations a blocky retro look, or help obscure faces, license plates, names, account details, and interface text before an image is shared.
How to Pixelate an Image
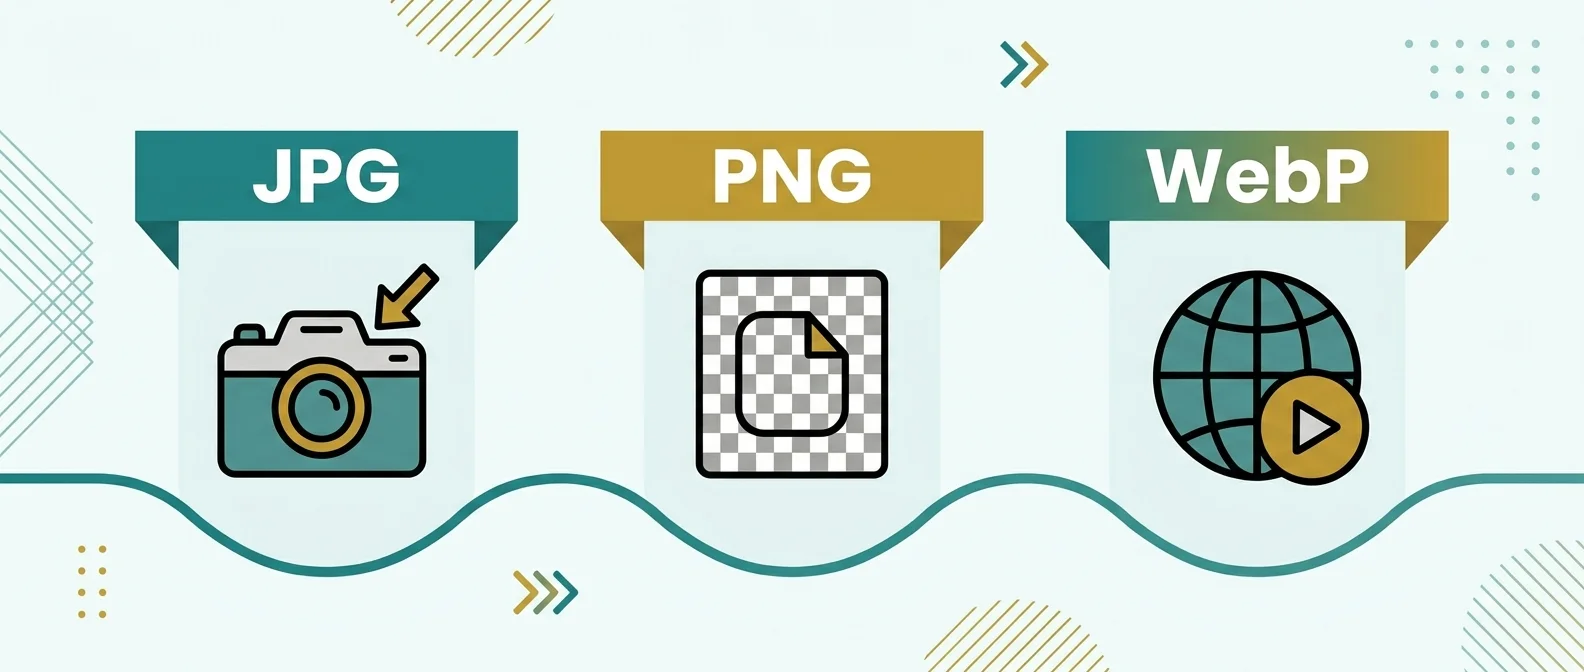
- Upload your image: Drag and drop your photo or screenshot into the workspace, choose a file from your device, or paste an image from the clipboard when your browser supports it. The tool works with common formats such as JPG, PNG, and WebP.
- Choose Whole Image or Selected Area: Select "Whole Image" to apply the mosaic effect across the complete picture, or choose "Selected Area" when you only want to obscure specific parts.
- Select an area tool: In Selected Area mode, use the Rectangle tool for names, numbers, cards, plates, or interface elements. Use the Brush tool when you need to cover irregular shapes such as faces or objects.
- Adjust the pixel block size: Move the pixel-size slider or choose one of the available presets. Smaller blocks preserve more detail, while larger blocks create a stronger mosaic and hide more of the original image.
- Review the preview: Compare the edited image with the original before saving. If important details are still visible, increase the block size or extend the selected area.
- Download the finished image: Choose PNG, JPG, or WebP, adjust quality when the selected format supports it, and download the edited file. Selection borders and editing guides are not included in the exported image.
Pixelating the Whole Image vs Selected Areas
Whole-image and selected-area pixelation solve different editing needs. Choosing the right mode helps you create the visual result you want without changing parts of the image unnecessarily.
Whole image pixelation applies the mosaic effect across the complete image. It works well for creative backgrounds, placeholder graphics, avatars, retro-inspired artwork, previews, and intentionally low-detail visual styles.
Selected area pixelation leaves most of the image unchanged while applying the effect only where you mark it. For example, you can cover a name in a screenshot, obscure an account number, pixelate a license plate, and hide a face while keeping the surrounding image clear.
You can mark several separate regions before exporting the image, and mix rectangles with brush strokes in the same edit. This is useful when a screenshot or photograph contains more than one detail that should be hidden. Each region keeps the effect and block size it was created with, so you can pixelate one area lightly and redact another heavily in the same pass.
Pixel Block Size Explained
The pixel-size control determines how large the visible mosaic blocks become. There is no single best setting because the result depends on the dimensions of the source image and the size of the detail you want to hide.
- Small block size (2px to 8px): Creates a light mosaic effect while preserving much of the original structure. On large, high-resolution images, small blocks may still leave text, shapes, or facial details recognizable.
- Medium block size (12px to 24px): Produces a more noticeable mosaic and can work well for screenshots, interface elements, names, and creative effects. Always inspect the preview because the amount of hidden detail depends on the source image.
- Large block size (32px to 64px+): Removes much more visible detail and is useful for larger text, faces, objects, or strong mosaic effects. For highly sensitive information, use Solid Redaction instead of relying on pixel size alone.
Pixelation vs Blur vs Solid Redaction
Pixelation, blur, and solid redaction can all hide visual details, but they work differently and are suitable for different situations.
| Method | Appearance | Best Use | Privacy Limitation |
|---|---|---|---|
| Pixelation | Visible square mosaic blocks | Faces, plates, general text, screenshots, retro effects | Small blocks may leave enough structure for some details to remain recognizable. |
| Blur | Smooth, softened details | Background distractions, faces, artistic effects | Weak blur may still leave recognizable shapes, text patterns, or facial structure. |
| Solid Redaction | Opaque solid area | Passwords, IDs, account numbers, API keys, private text | Removes the visible content entirely from the covered part of the exported raster image, but also hides the surrounding visual context. |
For sensitive information such as passwords, IDs or financial information, solid redaction is safer than weak pixelation or blur. The same advice applies to API keys and account numbers. In the exported raster image, the selected area is replaced with opaque colour values instead of a distorted version of the original detail. Always inspect the exported file before sharing it.
Common Use Cases and Real-World Examples
Pixelation can be useful for both practical editing and creative design. Use cases include:
- Hiding names and email addresses in screenshots: Documentation, support screenshots, tutorials, and bug reports may contain personal information that should not appear in the shared version.
- Obscuring account details: Pixelation can help hide balances, transaction references, customer numbers, order IDs, and similar details while keeping the rest of the interface visible.
- Obscuring people in shared photos: Pixelation can reduce recognizable facial detail when you want to share a photo without clearly showing every person in the scene.
- Hiding license plates and addresses: Identifying details can be obscured while leaving the vehicle, property, or surrounding scene visible.
- Creating a retro mosaic style: Pixelating photographs, illustrations, or avatars can create a blocky visual style inspired by older low-resolution graphics and games.
Does Pixelating an Image Reduce Its File Size?
Not necessarily. Pixelation changes how an image looks, while compression controls how the image data is encoded and stored. If you pixelate a 1920×1080 image without resizing it, the exported image can still remain 1920×1080 pixels.
Pixelation can sometimes affect compression efficiency because large areas may contain repeated or similar colour values, but the final file size also depends on the output format, quality setting, transparency, image dimensions, encoder, and the contents of the image.
- PNG: PNG uses lossless filtering and DEFLATE compression. Large areas of repeated or predictable pixel values may compress efficiently, so a heavily pixelated image can sometimes create a smaller PNG. The result is not guaranteed.
- JPG / JPEG: JPEG uses lossy compression designed mainly for photographic content. Strong mosaic edges can affect compression differently from smooth image areas. File size depends mainly on image dimensions, quality settings, image detail, and the encoder.
- WebP: WebP supports lossy and lossless compression. Depending on the selected mode and image content, the result may be smaller or larger than an equivalent PNG or JPEG file.
If reducing file size is your main goal, use the Image Compressor instead of relying on pixelation.
Output Format Comparison: PNG vs JPG vs WebP
Select the output format based on how you plan to use the finished image.
- PNG: A lossless format that supports alpha-channel transparency. It works well for screenshots, interface graphics, text-heavy images, and artwork where sharp mosaic edges should be preserved.
- WebP: A modern image format that supports lossy and lossless compression as well as transparency. WebP can often provide compact files while maintaining good visual quality, making it useful for websites and web applications.
- JPG / JPEG: A lossy format commonly used for photographs. JPEG does not support transparency, so transparent pixels must be flattened onto an opaque background during export. Choose PNG or WebP if transparency needs to be preserved.
Common Mistakes to Avoid When Pixelating Images
- Using pixel blocks that are too small: Light pixelation may look distorted at normal size while still leaving text or other details readable when the image is enlarged. Check the result carefully before downloading.
- Missing secondary identifiers: A screenshot may contain the same name, avatar, email address, account number, or other identifying detail in more than one location. Review the complete image before sharing it.
- Using weak pixelation for sensitive text: Passwords, access tokens, private keys, IDs, and account numbers should not rely on light pixelation for concealment. Use Solid Redaction and inspect the exported result before sharing it.
- Forgetting about transparency when exporting: JPEG does not support transparent pixels. If the source image contains transparency that you want to keep, export as PNG or WebP.
- Assuming pixelation is compression: Pixelating an image does not automatically make it smaller. Use an image compressor when reducing file size is the main goal.
Privacy and Browser-Based Processing
Image editing is performed in your browser, so no server upload is required for the pixelation operation itself. When you choose an image, your browser decodes it and applies the editing effect locally using client-side Canvas APIs.
The editing operation runs in browser memory rather than requiring the source image to be sent to TryFormatter for server-side rendering. Processing speed depends on the image dimensions and your device's available memory and processor performance.
Related Image Tools
Try these related image editing tools when you need a different type of adjustment:
- Blur Image: Soften an image or reduce visible detail with a blur effect.
- Image Annotator: Add arrows, text, shapes, and visual notes to screenshots and images.
- Image Cropper: Remove unwanted areas or crop an image to the required frame and aspect ratio.
- Image Resizer: Change image width and height while controlling the final dimensions.
- Image Compressor: Reduce image file size for websites, uploads, and sharing.
- Add Text to Image: Place captions, labels, or other text directly on an image.
Frequently Asked Questions
How do I pixelate part of an image?
Upload your image, choose Selected Area mode, select the Rectangle or Brush tool, mark the region you want to pixelate, adjust the pixel block size, review the preview, and download the finished image.
Can I pixelate multiple areas in one photo?
Yes. Draw as many rectangles as you need and paint additional areas with the brush in the same image before downloading the result. Every region is listed in the sidebar so you can reselect or delete any one of them, which is useful for hiding multiple names, faces, numbers, or other details.
What pixel size should I use?
There is no single best pixel size. Smaller blocks preserve more detail, while larger blocks hide more detail. The right setting depends on the dimensions of your image and the size of the area you want to obscure. Use the preview to check the result before downloading.
Is pixelation safe for hiding sensitive information?
Pixelation can hide details from casual viewing, but weak pixelation should not be relied on for highly sensitive information. For passwords, account numbers, IDs, API keys, or similar data, use Solid Redaction and inspect the exported image before sharing it.
What is the difference between pixelation and blur?
Pixelation turns image details into visible square mosaic blocks, while blur blends neighbouring pixels into a smoother appearance. Both can reduce visible detail, but solid redaction is a better choice for highly sensitive text.
Does pixelating an image reduce its file size?
Not necessarily. Pixelation changes image appearance but does not automatically change its dimensions. File size depends on the output format, quality setting, transparency, image dimensions, encoder, and image content.
Can I preserve a transparent background?
PNG supports transparency, and WebP can also support transparency. If the source contains transparent pixels, export as PNG or WebP when you want to preserve them. JPEG does not support transparency and requires those areas to be flattened onto an opaque background.
Is the image uploaded to a server?
No server upload is required for the pixelation operation itself. The image is decoded and edited in your browser using client-side Canvas APIs.