Bulk Image Converter, Compressor, and Resizer: No-Upload Workflow
Batch image work usually starts when a folder is messy. Product photos may be too large, screenshots may use different formats, and campaign assets may need matching sizes before upload. Doing that one file at a time is slow. Uploading the whole folder to a remote server can also be risky when the images belong to a client, a private project, or an internal business workflow.
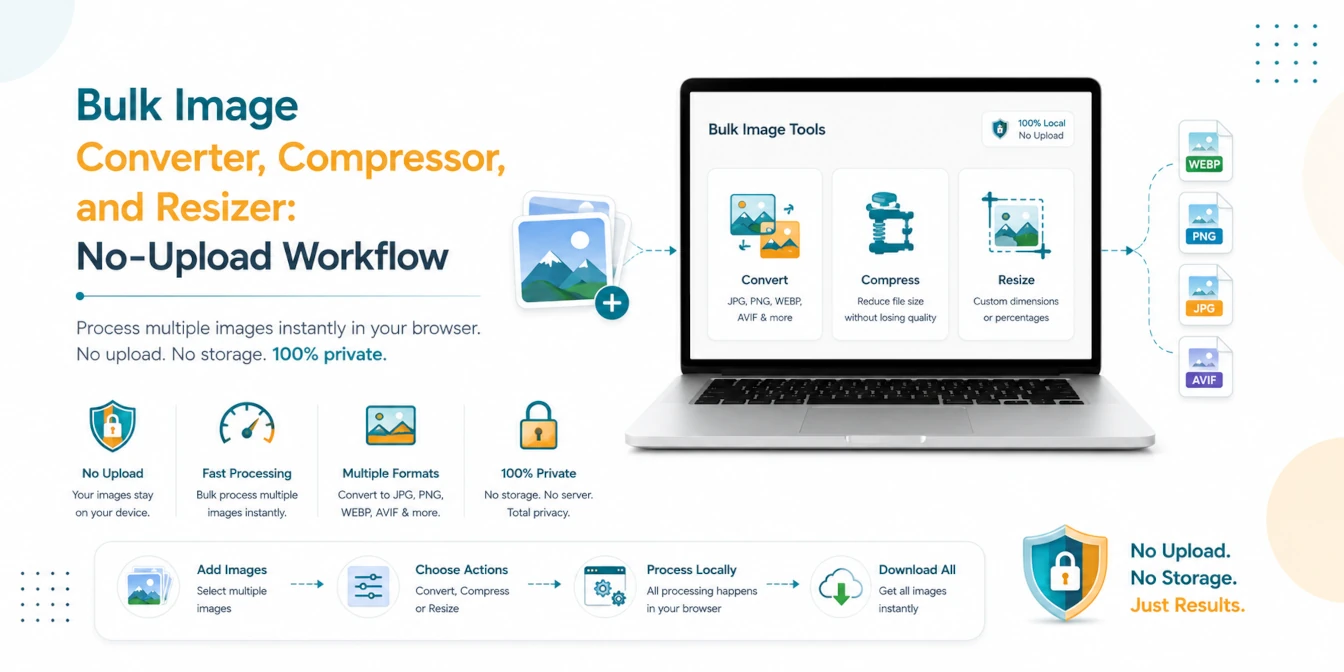
A better approach is to use a no-upload browser workflow. Convert formats, resize dimensions, and compress file size locally, then download the finished batch as a ZIP. This keeps the work fast while avoiding unnecessary server uploads.
Short Answer
For a private batch image workflow, first resize images to the dimensions you need, then convert to the right format, then compress for smaller file size. Use browser-local tools so the images stay on your device and the final batch can be downloaded as a ZIP.
Why Batch Image Processing Matters
Large unoptimized images slow down websites, make uploads fail, and create inconsistent layouts. A store grid looks unprofessional when product photos use different sizes. A blog gets heavier when every screenshot is uploaded at full camera resolution. Social posts become harder to schedule when files are scattered across JPG, PNG, WebP, and HEIC formats.
Batch tools solve this by applying one workflow to many files. You can resize a whole set to matching dimensions, convert the output format, adjust quality, and download all results together.
Recommended Order: Resize, Convert, Compress
The order matters because each step changes the file in a different way:
| Step | What It Changes | Why It Comes Here |
|---|---|---|
| Resize | Pixel width and height | Removes unnecessary pixels before format and quality work. |
| Convert | File format | Chooses the best output type for web, forms, or sharing. |
| Compress | File size and quality | Reduces final weight after dimensions and format are set. |
Step 1: Bulk Resize Images
Resize first when the original images are larger than needed. A 4000 pixel wide photo does not need to stay that large if it will appear as a 900 pixel product card or a 1200 pixel blog image. Removing extra pixels can reduce file size dramatically before compression even begins.
Common resize targets include:
- Product images: 1000 x 1000 or 1200 x 1200.
- Blog images: 1200 x 675 or 1600 x 900.
- Social previews: 1200 x 630.
- Thumbnails: 300 x 300 or 400 x 400.
Step 2: Bulk Convert Image Format
After size is correct, choose the output format. JPG is useful for photos. PNG is better when transparency matters. WebP is often a strong web format because it can keep good quality at smaller file sizes. AVIF can be even smaller in some cases, but compatibility should be considered for your audience.
HEIC and HEIF files from phones are common upload problems. Converting them to JPG, PNG, WebP, or AVIF before publishing can make your workflow smoother.
Step 3: Bulk Compress Images
Compression is the final pass. It reduces file size after dimensions and format are already chosen. Start with a quality setting around 80 percent for photos. For crisp interface screenshots, compare the result visually because text and thin lines can show compression artifacts sooner than natural photos.
If a form requires an exact file size like 20KB, 50KB, or 100KB, use a target-size compressor after resizing. Exact limits are easier to hit when the dimensions are not oversized.
Example Workflow: Ecommerce Product Photos
- Drop 80 mixed camera photos into the bulk image resizer.
- Resize every image to 1200 x 1200 with crop or contain mode.
- Convert the batch to WebP for storefront performance.
- Compress the output at 80 percent quality.
- Download the final ZIP and upload it to the store.
Example Workflow: Blog and Documentation Images
- Resize article banners to 1600 x 900 or 1200 x 675.
- Convert screenshots to WebP if transparency is not needed.
- Keep PNG only for images where sharp transparency is required.
- Compress the final files and check that text remains readable.
Example Workflow: Private Client Assets
Client image folders may include unreleased products, internal screenshots, identity documents, or campaign drafts. A browser-local workflow is useful here because the files are processed on your device. You can prepare the final batch without sending the original images through an unknown upload service.
Format Selection Guide
| Format | Best For | Watch Out For |
|---|---|---|
| JPG | Photos, marketplace uploads, email attachments | No transparency, quality loss at lower settings |
| PNG | Transparency, logos, screenshots with sharp edges | Can be larger than JPG or WebP |
| WebP | Modern websites and performance-focused images | Check platform support for older systems |
| AVIF | Very small modern web images | Encoding can be slower and support varies |
| HEIC | Phone camera originals | Often needs conversion before upload |
Why No Upload Matters
Images can contain private information. Screenshots can show account names. Product photos can reveal unreleased items. Documents and form images can contain personal data. Even normal photos may include location context or metadata. Processing locally in your browser reduces exposure because the original files do not need to be uploaded to a remote server.
TryFormatter image tools are designed around this local-first pattern. The browser opens the file, processes it locally, and creates the output on your device. That is especially useful for agencies, ecommerce teams, students, developers, and anyone handling private image folders.
Useful TryFormatter Tools
Batch image workflow
Frequently Asked Questions
Resize first when the image dimensions are too large. Then convert format if needed, and compress the final output.
Yes. A bulk image converter can process multiple JPG, PNG, WebP, AVIF, HEIC, and other image files in one browser session.
It is safer for private files when the tool runs entirely in your browser and requires no server upload. Your images stay on your device.
WebP is a strong default for many websites. Use JPG for broad compatibility, PNG for transparency, and AVIF when small size and platform support align.
Conclusion
A clean batch image workflow saves time and improves page speed. Resize first to remove extra pixels, convert to the format your platform needs, and compress last to reduce final file size. When the images are private, use no-upload browser tools so the original files stay on your device while you prepare the final ZIP.