Product catalogues
Give product photos the same shape so catalogue grids look clean and consistent.

Crop multiple images to the same ratio in one batch. Preview each crop, adjust the focus and download the finished images together as a ZIP. Processing runs in your browser with no file upload required. All processing happens locally in your browser.
Drop JPG, PNG or WebP images here, or choose files from your device.
A bulk image cropper lets you crop several images to the same shape in one workflow. Add your files, choose a crop ratio, check each preview and download the finished images together.
It is useful when product photos, blog images, social posts or screenshots need a consistent layout. Cropping changes the visible area of an image without stretching it.
Use the Image Cropper when one image needs detailed editing. Use this bulk tool when several images need the same ratio and output settings.
The same photo can be prepared for product grids, social posts and wide website cards without stretching the image.
Try these crop ratios with your own images.
An aspect ratio describes the shape of an image by comparing its width with its height. It controls the crop shape, not the final pixel dimensions.
| Ratio | Shape | Common uses | Check before download |
|---|---|---|---|
| 1:1 | Square | Product grids, profile images and thumbnails | Keep the subject away from all four edges |
| 4:5 | Portrait | Social posts and product photos | Check the top and bottom of the subject |
| 3:2 | Photo | Photography and print-style layouts | Keep the main horizontal composition |
| 4:3 | Standard | Presentations, listings and guides | Check text and interface elements near the sides |
| 16:9 | Wide | Blog cards, banners and video thumbnails | Keep important details inside the centre area |
| 9:16 | Vertical | Stories, reels and mobile previews | Leave space for controls at the top and bottom |
Cropping sets the image shape. To create an exact width and height, crop the images first and then use the Bulk Image Resizer.
A centre crop removes an equal amount from opposite sides of an image. It works well when the subject is already near the middle.
It may cut off a face, product or text placed near an edge. Check every preview and move the crop area when the image needs a different focus.
Give product photos the same shape so catalogue grids look clean and consistent.
Prepare mixed images in one wide ratio before resizing them for your website.
Create square, portrait or vertical crops while keeping faces and text visible.
Standardise screenshots for guides, support pages and release notes without stretching the interface.
Best for ordinary photos when you want a smaller file.
Best when you need transparency or sharp interface details.
A good choice for modern websites when you want a balance between quality and file size.
Quality controls affect lossy formats such as JPG and WebP. A lower value usually creates a smaller file, but it can also soften details or add compression marks. Check text, faces and product edges before downloading the complete batch.
JPG does not support transparent pixels. When you convert a transparent PNG to JPG, choose a background colour to replace the transparent area.
Cropping runs in your current browser session. Your selected images do not need to be uploaded to TryFormatter servers for processing.
Keep the tab open until cropping and ZIP creation are complete. Large files or batches may use more browser memory, so split them into smaller groups if the page becomes slow.
Move the crop area, choose a wider ratio or process that image separately.
Separate portrait, landscape and off-centre images into smaller batches.
Use PNG or WebP when transparency is required. JPG does not support transparency.
Crop the image first, then use Bulk Image Resizer to set an exact width and height.
Move the crop inward or choose a less narrow ratio. Leave extra room for social media controls.
Process fewer large images at one time and close other memory-heavy browser tabs.
Yes. Add several supported images, choose one crop ratio and check each preview before processing the batch.
No. Cropping removes the area outside the selected frame. It does not stretch the pixels that remain.
Yes. Select an image, adjust its crop and keep the shared settings for the other files.
Use 1:1 for square grids, 4:5 for portrait posts, 16:9 for wide cards and 9:16 for vertical stories. Check the requirements of the website or platform where you will use the image.
The crop ratio controls the image shape. Use Bulk Image Resizer after cropping when you need an exact width and height.
No. Cropping runs in your browser and does not require uploading the selected image files to TryFormatter servers.
Yes. Choose PNG or supported WebP output when transparency is needed. JPG does not support transparent pixels.
Yes. After processing, you can download the completed batch as a ZIP file or download images one at a time.
The crop frame may not match the subject position. Move the crop area, choose another ratio or process that image separately.
Successful files remain available. The tool shows which file failed and lets you try it again.
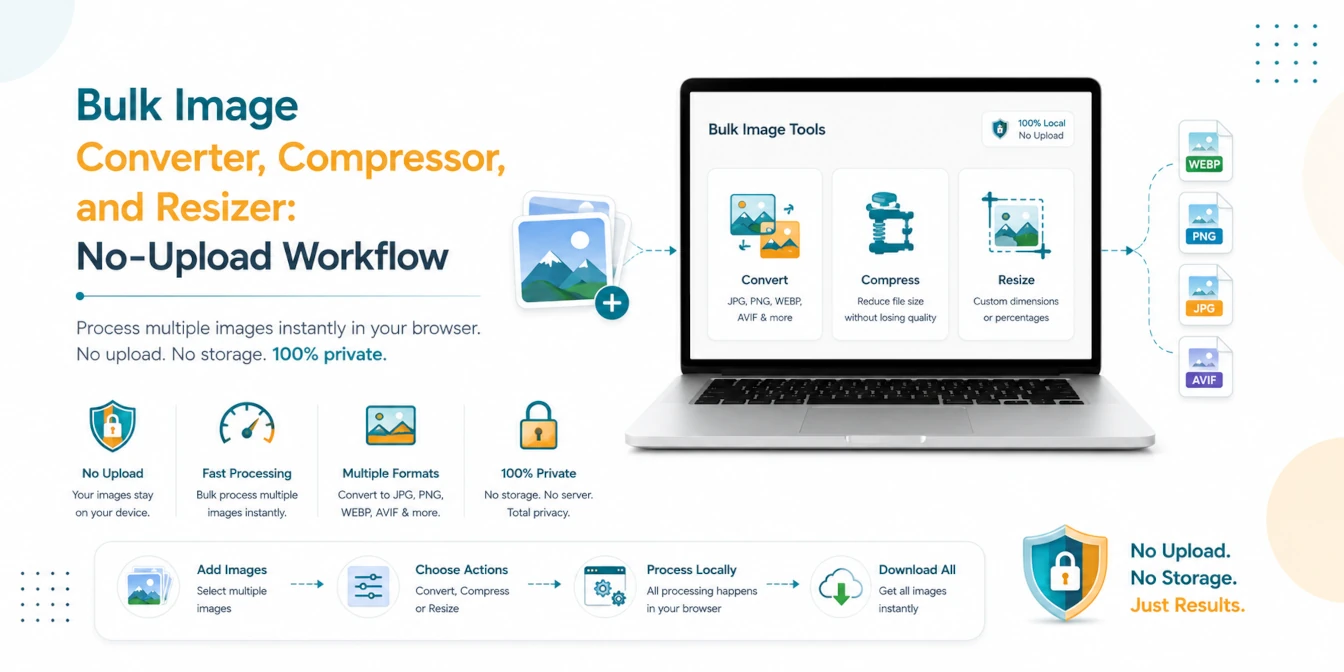
A practical batch image workflow for converting, compressing, and resizing JPG, PNG, WebP, AVIF, and HEIC files locally in your browser.
Read Guide →
Slow websites lose users. Learn the professional secrets of image optimization—from WebP conversion to bulk compression—and boost your Core Web Vitals instantly.
Read Guide →