Add Border to Image Online Free With No Upload
Add a clean border or frame to any photo without uploading it. This free online image border maker runs entirely in your browser and lets you choose color, size, and style before download. All processing happens locally in your browser.
Framing Studio
Upload Photo
Drag and drop your image here to add borders instantly.
What is Image Border Maker?
The TryFormatter Image Border tool is a professional utility for framing your photos and graphics. Adding a border is more than just an aesthetic choice; it helps define the boundaries of an image, making it stand out against different background colors on websites, social media feeds, and digital documents.
Our tool gives you full control over border width, color, and padding. Whether you need a simple 1px hairline border for a clean look or a thick "Polaroid-style" frame for social media, you can create it instantly in your browser.
How to Add a Border to Your Image
- Upload Photo: Drag your image into the secure workspace.
- Configure Border: Select the border thickness (in pixels) and choose a color that complements your image.
- Adjust Padding: Add "internal" space between the image and the border for a more sophisticated framed effect.
- Export: Download your finished, framed image as a PNG or JPG.
Professional Framing Scenarios
1. Screenshots for Documentation
Input: A white screenshot on a white background. Output: A screenshot with a 1px gray border, making it distinct and readable.
2. Social Media "White Frame" Look
Input: A high-quality landscape photo. Output: A photo with a thick white border, creating a cohesive Instagram grid aesthetic.
3. Framing Product Images
Input: A raw product asset. Output: A framed product image that looks premium and ready for an email newsletter.
Dynamic Border Scaling
Unlike simple CSS overlays, our tool calculates the border based on the actual resolution of your image. This means a 5% border on a 4K photo will be proportionally thicker than on a small thumbnail, ensuring that your design remains consistent regardless of the source file size. Everything is handled via local canvas processing for maximum privacy.
Practical quality checklist
Before you download from Image Border Maker, run a quick final review at the real size where the file will be used. A result can look fine while zoomed in, but still feel unclear in a feed, form, dashboard, or documentation page.
- Tip: Use thin borders for documentation screenshots and thicker borders for social styling.
- Tip: Choose border colors that complement the image, not overpower it.
- Tip: Keep border width consistent across a batch for brand parity.
- Tip: Check spacing when adding frame-style padding so content is not cramped.
- Tip: Preview on light and dark backgrounds if the image is reused in different themes.
Common mistakes to avoid
A common mistake is using border widths that are too thick for small images, which reduces visible content. Another is picking low-contrast border colors that disappear on certain backgrounds. Test in the target surface before publishing.
Private browser workflow
Image Border Maker runs entirely in your browser, requires no server upload, and data never leaves your device. This is useful for personal photos, internal work, client assets, and draft files where privacy matters.
Because processing is local, speed depends on your device and browser session. For large files or large batches, process in smaller groups for smoother performance.
How to use Image Border Maker
- Upload an image into the private browser workspace.
- Set border color, thickness, and optional spacing.
- Preview the framed output and download the final image.
Before downloading, check the preview carefully. Look at faces, small text, transparent areas, borders, and fine details. If the output does not match your goal, adjust the settings and run the tool again.
Examples
These examples show common ways people use Image Border Maker. Exact results depend on the source image, browser support, dimensions, and selected settings.
| Input | Action | Output |
|---|---|---|
| Large JPG or PNG image | Open it in Image Border Maker and choose the needed settings | A ready-to-download image prepared for sharing or upload |
| Website graphic or product image | Adjust the result for the target page or platform | A cleaner image workflow for web publishing |
| Private screenshot or personal photo | Process it locally in the browser | An edited file without server transfer |
Use cases
- Add clean borders to screenshots, product photos, and social posts.
- Create framed image styles for presentations and documentation.
- Apply border styling to private or client files with no upload.
Image Border Maker is useful when you want a focused image task completed quickly. It fits workflows for creators, students, developers, ecommerce teams, support teams, and anyone who needs to prepare images for upload, publishing, or sharing.
Quality checklist
- Check that the final image opens correctly before uploading it elsewhere.
- Confirm that important text, signatures, product edges, and faces remain readable.
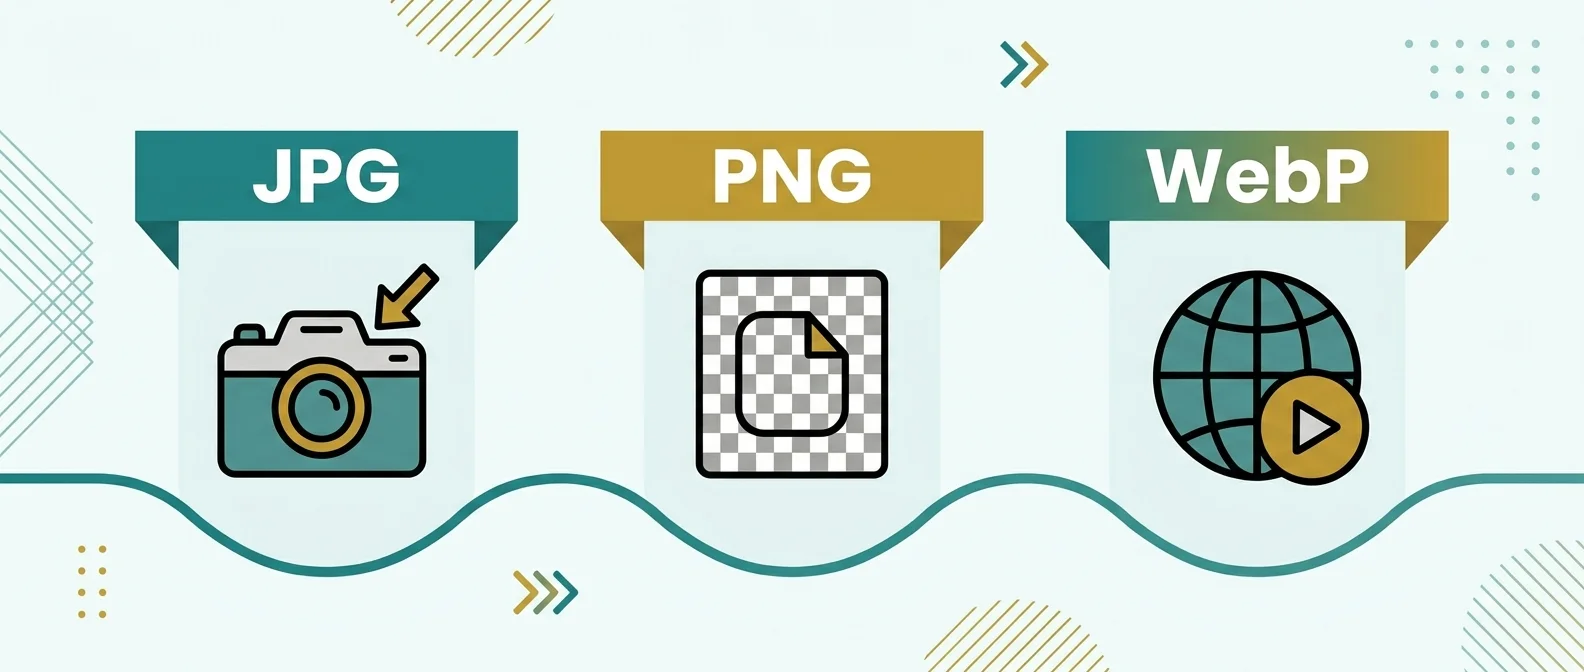
- Use JPG for most photos, PNG when transparency or sharp edges matter, and WebP when the destination supports it.
- For strict upload limits, verify the final dimensions, format, and file size after download.
Common mistakes to avoid
Do not rely only on the first preview when the image will be used for an important upload. Download the result and open it once from your device, because some portals check the saved file rather than the browser preview. Avoid converting transparent PNG files to JPG unless a white background is acceptable. Avoid using very large original dimensions when the destination only displays a small image, because extra pixels can make files heavier without improving the final view.
For photos, reduce quality gradually instead of jumping to the lowest setting. For screenshots, certificates, signatures, and text-heavy images, keep enough sharpness for review. If a website gives exact requirements, follow its format, dimension, and file size rules first, then use Image Border Maker to prepare the image around those rules.
Privacy and data handling
Image Border Maker uses browser-local processing. Your files are handled in your browser memory, and the tool does not need to upload image data to TryFormatter servers. This helps keep private photos, unreleased designs, internal screenshots, identity images, and client files under your control.
For best results, keep the browser tab open until your download is complete. After finishing, clear the workspace or close the tab. If you are working with sensitive images, also review the downloaded file before sending it to another website or person.
Related image workflow tips
If add border to image is only one step in your workflow, combine it with nearby image tools. Resize before compression when dimensions are too large, convert to WebP for modern web delivery, and remove metadata before publishing sensitive photos. Always follow the upload rules of the destination site because file size, format, and dimension limits can vary.
When a result will be submitted to an exam form, job portal, marketplace, or client system, keep one backup copy of the original image and one accepted final copy. This makes it easier to retry with different settings without losing the source file.
Frequently Asked Questions
Is it safe?
Yes. Image Border Maker runs entirely in your browser, requires no server upload, and your data never leaves your device.
Does it work offline?
Yes. After the page loads, the main image work can continue in your browser without sending files to any server.
Is data stored?
No. Files are handled in browser memory for the current session only. TryFormatter does not store or log your images.
Is it free?
Yes. The tool is free to use with no account, no watermark, and no forced upload.