Create consistent names
Apply one clear naming structure to an entire set of images.

Rename several image files in one batch using clear names, prefixes, suffixes and sequence numbers. Review every filename before downloading the renamed files as a ZIP. All processing happens locally in your browser.
Useful for product catalogs, screenshots, client deliveries and media libraries.
Drop files here or choose them from your device.
Supports common image formats. Original file contents are not modified.You can reorder the list before adding sequence numbers.Overview
Bulk Rename Images helps you create consistent filenames for multiple image files before uploading them to a website, sending them to a client, organizing a photo collection or importing them into a CMS.
Add your images, choose a naming method, preview every generated filename and download the renamed files together in a ZIP archive. The tool changes filenames only. It does not resize, recompress, convert or edit the image pixels.
Main benefits
Apply one clear naming structure to an entire set of images.
Compare the current filename with the generated filename before creating the ZIP.
The image data is copied into the downloaded archive without intentional visual modification.
How it works
Complete the steps in order to create a clear, conflict-free naming pattern.
Select or drop the image files you want to rename.
Create completely new names or edit parts of the existing filenames.
Add a base name, prefix, suffix, separator and optional sequence number.
Check the preview and resolve duplicate, empty or invalid names.
Create an archive containing copies of the image files with their new names.
Examples
These examples show how different workflows can turn inconsistent filenames into predictable sequences.

Use a descriptive base name with padded numbering.
IMG_4821.JPG
product-001.jpg

Keep instructional images in the correct step order.
Screenshot 2026-07-21 1.png
tutorial-step-01.png

Replace camera-generated names with a clear project structure.
_DSC8820.JPG
wedding-reception-001.jpg

Add a suffix while retaining the meaningful part of the current name.
homepage banner.png
homepage-banner-edited.png
Rename methods
| Comparison | Create new names | Edit existing names |
|---|---|---|
| Main purpose | Replace the current filename with a completely new naming pattern. | Keep useful parts of the current filename and modify selected text. |
| Original name retained | Optional when using an original-name token. | Yes, unless the selected edits remove it. |
| Prefix and suffix | Supported. | Supported. |
| Sequence numbering | Best suited for predictable numbered collections. | Useful when adding numbers to existing filenames. |
| Find and replace | Usually not required. | Useful for removing repeated words or replacing separators. |
| Best use | Product catalogs, client deliveries and ordered collections. | Cleaning camera names, screenshots and existing asset libraries. |
Naming structure
A filename pattern can combine a base name with optional text before or after it. A prefix appears at the beginning, while a suffix appears before the file extension.
Sequence numbers make each generated filename unique. Separators such as hyphens and underscores help keep the final names readable and easier to scan.
summer-product001-approvedsummer-product-001-approved.jpgFile sorting
Padded numbers contain leading zeros, such as 001, 002 and 010. They help filenames remain in the expected order when a file manager, CMS or server sorts them alphabetically.
Without padding, image-10.jpg may appear before image-2.jpg. With equal-length numbers, the sequence is easier for both people and software to follow.
image-1.jpg
image-10.jpg
image-2.jpg
image-001.jpg
image-002.jpg
image-010.jpg
Use cases
Product images often need a predictable relationship with a product code, category or viewing angle. Clear filenames can make bulk imports and media-library searches easier to manage.
IMG_4821.JPG
SKU1234-front.jpg
Sequential names help keep documentation images in the intended order when they are uploaded to a CMS, shared folder or static documentation project.
Screenshot 4.png
install-step-04.png
Replacing camera-generated labels with project-specific names makes a delivery easier to browse and makes it simpler for clients to reference a specific image.
_DSC8820.JPG
conference-keynote-001.jpg
Descriptive filenames can make assets easier to identify inside large media libraries, especially when several editors work with the same collection.
final-new-2.png
pricing-page-chart.png
Filename safety
Some operating systems, archive tools and upload platforms reject certain characters or filenames. Commonly restricted characters include:
/
\
:
*
?
"
<
>
|
Filename rules differ between systems. The tool should warn about risky characters, empty names, duplicate results and known reserved names before creating the archive.
Best practices
File operations
Renaming changes the filename shown by the file system. It does not change the underlying image format or visual content.
A file named photo.png remains a PNG image after it is renamed. Changing only the extension text to .jpg would not perform a real image conversion and may make the file difficult to open.
Limitations
The tool does not resize, crop, convert, compress or edit the image pixels.
Renamed files are provided inside a downloaded archive rather than replacing the source files on the device.
Operating systems, upload services and archive tools may apply different character, path-length and reserved-name restrictions.
Archive creation time and memory use depend on the number and size of selected files and the available browser resources.
The tool may not preserve nested folders unless the current upload and ZIP implementation explicitly supports them.
Downloaded archive entries may not retain every original file-system attribute.
Processing
Production network requests should be verified before publishing an absolute statement that filenames or image data never leave the device. Analytics and error-reporting events should not include original filenames, generated filenames, image contents, previews, object URLs or ZIP data.
More image workflows
No. Renaming changes the filename and ZIP packaging only. It does not resize, recompress, convert or edit the image pixels.
No. The original files on your device remain unchanged. The downloaded ZIP contains copies of the selected files using the generated filenames.
Yes. Keeping the original extension should be the default behavior. Extension normalization may change the letter case, but it should not convert the underlying image format.
Yes. You can choose a start number, number position and padding such as 1, 01, 001 or 0001 when those controls are available.
Padded values such as 001, 002 and 010 are more likely to remain in the expected order when files are sorted alphabetically by a file manager, CMS or server.
Yes. Use the option for editing existing names or include the original-name token in an advanced naming pattern when that feature is available.
Yes. A prefix is added before the main filename, while a suffix is added after the main name and before the file extension.
Yes, when Edit existing names is available. You can replace repeated words, spaces, separators or other matching text while keeping the rest of the filename.
The tool should show a duplicate warning and prevent ZIP creation until the conflict is resolved. It should not silently overwrite one file with another.
Yes. Reorder the file queue before creating the ZIP so sequence numbers follow the intended image order.
No. Renaming changes filenames only. Use a real image converter when you need to change PNG, JPG, WebP or another image format.
Yes, but separate batches may produce clearer and more consistent filename patterns when the files belong to different workflows.
No. Changing extension text alone does not convert the image data. A PNG renamed with a .jpg extension is still a PNG internally and may not open correctly.
Supported formats should match the file types accepted by the upload control. Check the current tool interface for the tested input formats instead of assuming every image format is accepted.
Browsers cannot normally rename source files directly on your device. A ZIP archive provides copies of the selected files with the generated filenames.
Yes. ZIP creation depends on the number and size of selected files and the available browser memory. Use smaller batches when the browser becomes slow or cannot complete the archive.
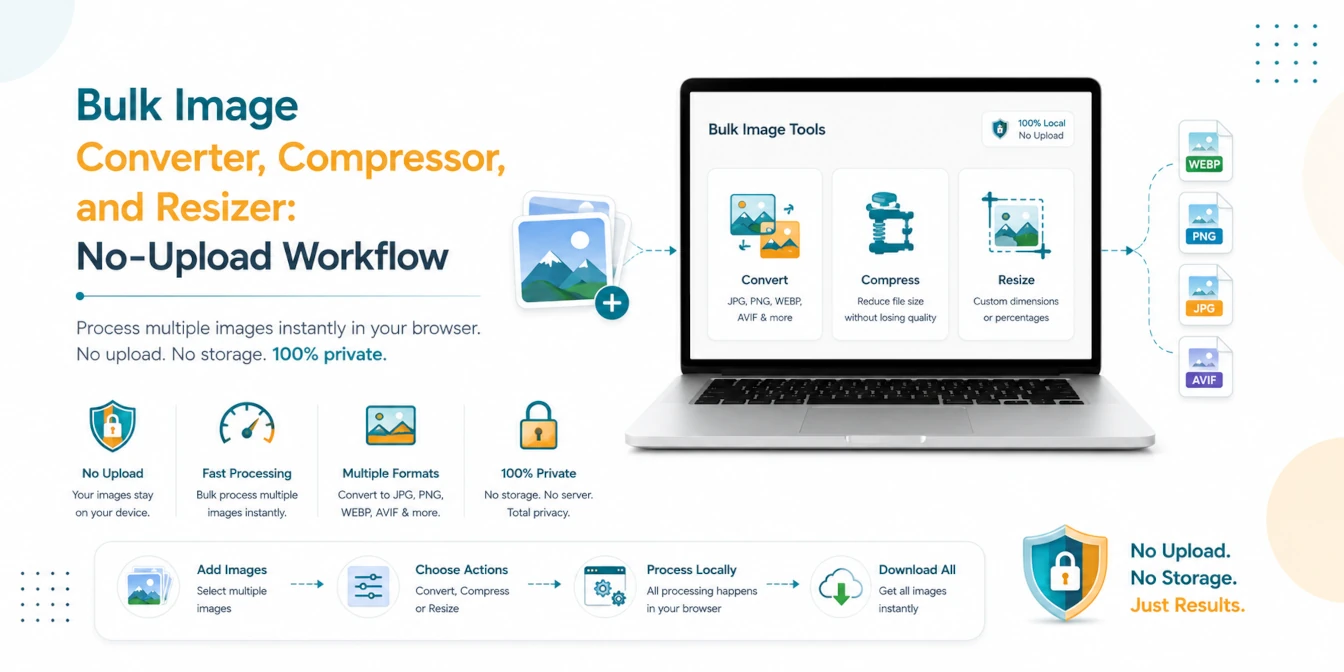
A practical batch image workflow for converting, compressing, and resizing JPG, PNG, WebP, AVIF, and HEIC files locally in your browser.
Read Guide →
Slow websites lose users. Learn the professional secrets of image optimization—from WebP conversion to bulk compression—and boost your Core Web Vitals instantly.
Read Guide →